Strong legs feel great, but only when your core is ready to hold all that. Otherwise, your upper and lower body just seem untied, and your posture takes a hit. When your core is stable, lifts feel smoother, your balance feels better, and even simple movements get easier.
In this blog, we’ll break down what “core stability” actually means, how it improves balance and functional fitness, and we'll also give you a simple 3-day beginner plan you can stick to.
Each session lasts only 10–20 minutes and combines low-impact glute exercises with core stability workouts. You’ll get easy warm-ups, pillar moves with cues, balance finishers, and small weekly tweaks, all in line with The DB Method’s joint-friendly, form-first approach.
What Counts as “Core Stability”
Core stability is what helps your body stay strong and balanced. When you’re squatting, stepping, hinging, or carrying something heavy, it sustains your body's position in a solid, neutral state.
The muscles that actually make it happen? Your deep abs, obliques, spinal stabilisers, and glutes. They’re your team, keeping everything steady so you can move safely and feel in control.
A few coaching cues simplify the process: keep your ribs stacked over your pelvis, brace lightly as you exhale, lower yourself slowly, and fully embrace that pause.
For beginners, this matters because controlled reps cut down on strain and make progress repeatable. It’s also what helps you feel confident, keeps posture in check, and improves your balance, basically all the stuff you’ll notice in everyday movement.
Why Core Stability Drives Total-Body Strength
Your core is what connects your upper and lower body. It keeps your spine steady, helps you move power around, and makes everything from your posture to your balance feel way easier in everyday life. Strong core, smooth moves, less pain, it's all that simple.
By consistently practicing these core stability exercises, you’ll feel the difference in how you move almost instantly. Your balance feels tighter, your jumps feel smoother, and your whole body brings itself together.
And if you’re just starting out, don’t try to give it all in one go. Start with the basics: ribs over hips, easy breathing, slow, steady reps. That’s it. Do that, and you’re not just “working your abs”. You’re giving your whole body a solid base to move stronger and safer.
How The DB Method Improves Core Stability Exercises
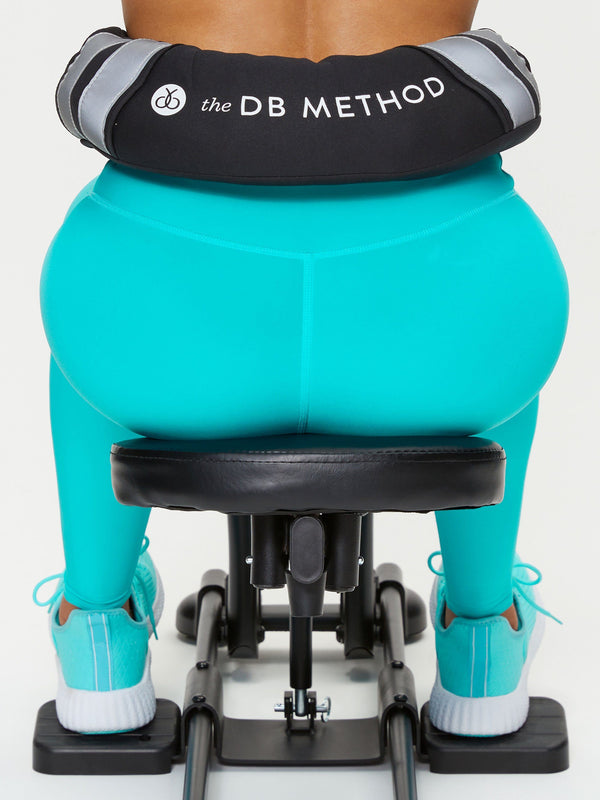
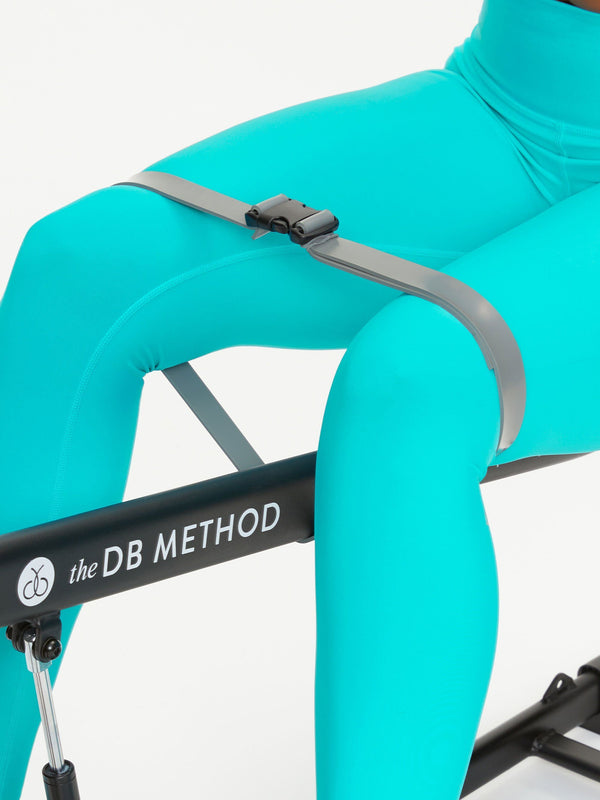
The DB Method takes a super joint-friendly, glute-first approach that fits right into any stability workout routine. The machine basically does the hard setup work for you; it places the load right into your glutes, helps your posture stay in check, and stays super low-impact. So you can get a solid session in without feeling wrecked after. And the fact that it folds flat? Total win if you’re working out at home.
The DB Method on the Playbook app makes things even easier. You get short, guided sessions with pacing and cues built in, so you’re not guessing your way through form or tempo. And our blogs keep things form-first and beginner-friendly, with simple coaching for squats and glute activation. It all lines up perfectly with building better core stability and functional fitness.
4-Minute Warm-Up: Switch On Stability
Before you get into the main work, give your body a moment to settle in. A quick warm-up helps your core switch on, wakes up your glutes, and sets the pace for steady, controlled movement.
- Breath and Brace (60s): Take five slow breaths. As you exhale, give your abs a light little brace, nothing intense.
- Cat-Cow or Spinal Waves (60s): Move through your spine slowly, one section at a time. No pinching, no rushing.
- Hip Hinge (60s): Hands on your hips, ribs over your pelvis, small range. Just remind your body how to hinge.
- Marching Bridge (60s): Lift into a bridge and do slow marches, about four per side.
Keep your chin level, knees tracking over the middle of your foot, and move only where it feels good. This warms up your core and glutes so your actual workout feels steadier and easier, very in line with The DB Method’s form-first vibe.
Pillar Moves: Beginner Core Stability Exercises

Now, it’s time to move into the core patterns that keep everything steady. These are the simple, repeatable moves you can rely on when you want strength that shows up in real life.
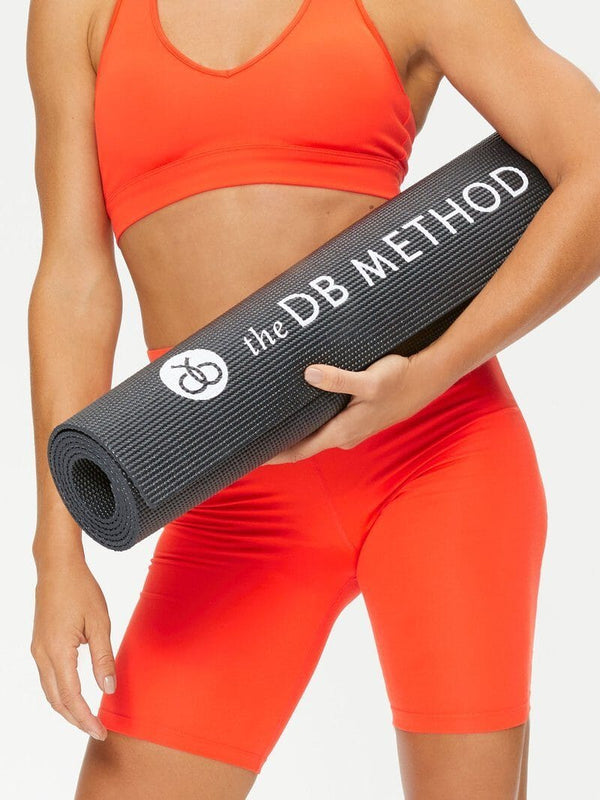
- Dead Bug (8-10/per side): Exhale as you press your ribs down and keep your low back quiet on the mat. Slow and steady wins here.
- Bird-Dog (8/side): Reach your arm and opposite leg out nice and long, and try to keep your torso from doing that little wiggle dance it loves to do.
- Side Plank on Knees (20–30s/side): Lift your hips. Not so much that you tip over, just enough to feel your side kick in. Think about lightly closing the gap between your ribs and your hip.
- Glute Bridge (12 reps + 1-sec squeeze): Press through your heels, lift your hips, and give your glutes a quick little squeeze at the top. And keep your ribs in line. No need to crank your back or arch like wild.
- Hip-Hinge Iso Hold (2×30s): Bow slightly from your hips with a neutral spine. You should feel your hamstrings and glutes “catch” the load.
- Tall-Kneel Anti-Rotation Press (6–8/side): Press your hands forward and fight the urge to twist. No band? Just press your palms together at your chest and slowly extend.
These are the basic patterns that build real core stability without crushing you. Research supports that better posture, improved balance, and stronger day-to-day movement are achieved when people start with simple, controlled exercises.
Build Your 3-Day Stability Plan (10-20 Minutes)
Here’s a super simple 3-day plan you can actually stick to. Each day is just 10-20 minutes, focusing on steady, low-impact stability workouts that make everyday movement feel easier.
Day 1: Hinge and Brace
Start with your warm-up, then move through Dead Bug, Hip-Hinge Iso Hold, and Glute Bridge, and finish with 30 to 45 seconds of single-leg standing. You can place a hand on the wall if you need a little support.
Day 2: Lateral and Anti-Rotation
Begin with your warm-up, move into Side Plank on your knees, continue with the Anti-Rotation Press, then go through Bird-Dog, and finish with 30 to 45 seconds of slow side-to-side weight shifts while keeping your hips at the same level.
Day 3: Squat Pattern and Carryover
Begin with your warm-up, move into slow sit-to-stand reps from a bench or box, continue with either Dead Bug or Bird-Dog, and finish with 30 to 45 seconds in a split-stance hold while keeping your ribs aligned over your pelvis.
Just spread these out on non-consecutive days, keep everything pain-free, and breathe throughout. The DB Method style is all about short, repeatable sessions, so this fits right in.
Balance Training That Transfers Without Jumps
Here’s an easy way to finish your session with a little balance work. These small movements help your body stay steady during the things you do every day, like walking, taking the stairs, or reaching for something on a high shelf.
Pick one finisher:
- Single-Leg Stance: Stand on one leg for 30-45 seconds (twice per side). Look straight ahead, keep a chair nearby, and it’s totally okay to tap it.
- Lateral Step-Down: Use a low step and perform 2 sets of 8 reps per side. Let your knee track right over your mid-foot, not collapsing in.
- Split-Stance Hold: 2 sets of 30 seconds per side. Keep your front heel planted and ribs stacked.
These tiny challenges do a lot more than they look. They build steadiness, real-world balance, and confidence, especially if you’re training at home and starting to build capacity.
Feel the Everyday Difference of a Strong Core
As your core gets steadier, you start catching these little wins without even looking for them. Standing up feels a bit smoother, carrying grocery bags doesn’t make you wobble around, stairs stop feeling like a whole event, and even grabbing that top-shelf snack doesn’t throw your body off balance anymore.
And this isn’t just gym talk. Health experts back it up: a stronger core means better posture, better balance, and fewer “ugh, my back” moments.
If you actually want to see how far you’ve come, do a tiny weekly check-in. Just pay attention to the little things. Maybe getting up from a chair feels easier, or you’re not wobbling like before when you stand on one leg. After Day 3, jot down one small win; those add up fast.
Progressions for Weeks 2-4 (Small Levers, Big Results)

Here’s how to ease into Weeks 2-4 without flipping your whole routine. You’re not reinventing your stability workouts here, just turning a few small dials that make your core stability exercises actually pay off.
Start by keeping a slower 3-1-1 tempo on your sit-to-stands and hinges so your core has time to do its job. Add an extra 5-10 seconds to your planks and other holds. If things feel good, try going a little deeper in your hinge or squat, pain-free, always. You can also mix in single-leg bridges for 6-8 reps per side to get that unilateral challenge.
For a slightly more challenging effort, add one set or shorten your rest by approximately 15-20 seconds. Go slow and controlled, steady reps beat rushed ones every single time.
Bring Core Power to Every Rep
Stability is basically the quiet engine behind every strong rep and every smooth everyday move. When you take your reps a little slower, keep yourself tall, and don’t rush the progress, your core stability exercises start landing in a way you can actually feel, not just in your workouts, but in the random everyday stuff too.
And if you want something super joint-friendly to help you stand taller and nail those deeper, glute-y squats while you work on your core, add in a few short assisted squat sessions. They make the whole thing click. They help you focus on alignment, keep your tempo clean, and make your stability work and land even better. Then just stack your stability block on top.
A solid place to start your core workout with The DB Method Squat Machine.