If your hips always feel a bit off or your lower back does all the heavy lifting when you squat, that’s your body waving a little flag; your pelvis and glutes need to team up. When you get them in sync, movements feel smoother and lighter, and even simple stuff like standing or walking feels more natural.
In this blog, we’ll break down the pelvis–glute connection, share a 10-minute alignment prep, outline a three-day plan, and show how The DB Method supports form without extra strain.
What’s The Pelvis-Glute Connection
Your glutes actually do a lot more than you’d think. You know how your lower back sometimes feels like it’s doing all the work? That’s usually your glutes not pulling their weight. They’re supposed to help your hips and pelvis stay steady, but when they switch off, your back jumps in to cover, and that’s when the tightness and aches start.
The fix isn’t complicated. Get your glutes firing again and your pelvis sitting where it should, and suddenly everything, including walking, squatting, even just standing, feels easier and more natural. It’s kind of wild how much changes once those muscles wake up. Your whole body starts moving like it’s finally on the same team. These simple pelvic alignment exercises also support posture training and overall lower back health.
Quick Self-Check: Neutral vs. Tilted
The easiest way to check your posture? Just stand in front of a mirror and see if your ribs sit over your hips. If your lower back’s doing a little too much curve, your pelvis is probably tipping forward. If it’s tucked under, that’s the other way around.
Now lie down and slowly press your lower back into the floor; you’ll feel your pelvis move. That’s your control zone. From here, good posture training just means finding that middle ground and moving in a way that feels natural, not forced.
10-Minute Pelvic Alignment Exercises and Mobility Drills

Got 10 minutes? Do this quick little routine to get your body feeling loose and in sync again. Run through it twice. It helps your hips line up better and just makes everything move easier. These pelvic alignment exercises support posture training and protect lower back health without added strain.
- Start with a half-kneeling hip-flexor stretch for 30–45 seconds on each side to ease forward pelvic tilt.
- Lie on your back and do 6–8 slow posterior pelvic tilts to work on control.
- Move into a few slow, supported cat–cow reps to get your spine moving.
- Finish with 90/90 hip rotations, about six each side.
Breathe out, move easy, and don’t force it if something feels off.
Activation First: Glute “On” Sequence
Let’s wake up those glutes before you move into anything heavier. Two slow, controlled rounds, nothing rushed.
- Glute bridges ×12: Give your glutes a good squeeze at the top for a second. It helps them team up with your lower back instead of making it do all the work.
- Clamshells ×12 per side: Keep your hips still while your knee opens, no rocking.
- Side-lying leg lifts ×10 per side: You’ll really feel your side glutes here.
- Donkey kicks ×8 per side: Stay steady and keep your spine neutral.
These moves basically wake your glutes up and help your hips sit right, so everything feels smoother and stronger when you move. This sequence pairs well with mobility drills to reinforce posture training.
Strengthen To Stabilize (Beginner Block)
Here's your beginner-friendly strength block to help build stability and improve your posture. Think of this as locking in all that alignment work you just did. Do 2-3 sets of each move, 8-12 reps, and don't rush it. Slow and steady really helps your body learn good form.
- Hip-hinge (RDL style without weights): Push your hips back, keep your ribs over your hips, and keep your neck relaxed.
- Couch hip thrusts: Drive through your heels, pause at the top, and notice your glutes working; don't rush it.
- Sit-to-stands or step-ups: Keep your knee over your foot and take it slow as you come down. Focus on feeling it, not how fast you do it.
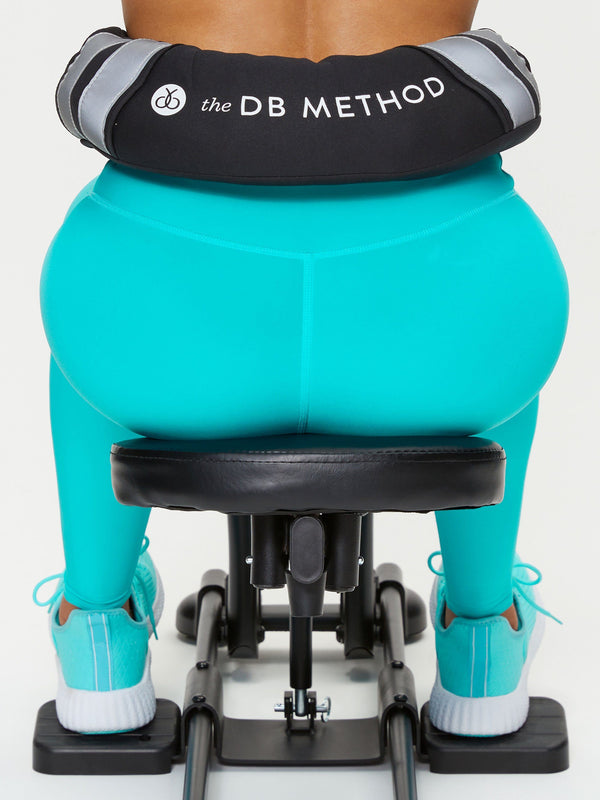
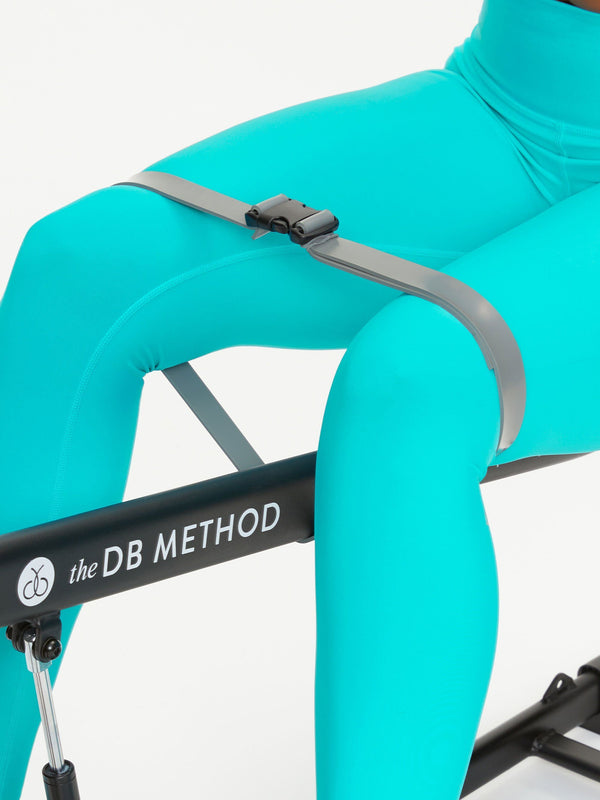
If you have The DB Method machine, finish with a few assisted squats; they're perfect for maintaining alignment without stressing your joints.
Core and Pelvic Control (Spine-Friendly)
Your glutes are waking up, and your hips are lining up. Now your core needs to join the team so your spine feels supported, not overworked. These next moves dial in that control so your pelvis, core, and back all share the load.
- Bird-dog: 2×6 per side. Reach your arm and opposite leg out long, nice and steady. Don’t let your back sag or twist, and keep it smooth.
- Side plank: 2×20–30 seconds per side. You can do it on your knees or feet, whichever feels more comfortable to you. Just think about keeping your body in one straight line, and don't worry about holding it perfectly.
- Modified curl-up: 2×6. Keep your head and neck relaxed. Remember, no straining!
These three moves are like a mini support team for your spine. They help your core and pelvis work together so your back doesn’t have to do all the heavy lifting. Small sets, clean form, and pair with glute work, and suddenly your hips and lower back feel way more solid.
Your Weekly Plan (3 Days, 20-25 Minutes)
If you have the DB Method, a short set of assisted squats is great here. Here’s a simple weekly plan, just 20-25 minutes a day.
- Day A (Prep + Activate + Hinge): Start with the 10-minute alignment prep, wake up your glutes with activation moves, then flow into hip-hinge RDLs and hip thrusts. Take your time, feel each movement.
- Day B (Prep + Activate + Step/Squat): Begin with your prep and glute activation, then proceed to step-ups or sit-to-stands. Take it slow, really feel the muscles working.
- Day C (Prep + Activate + Core): Prep and activate, then hit bird-dogs, side planks, and gentle posterior pelvic tilts. Finish with a 60-90 second bridge hold.
Keep rest days spaced out and throw in a few easy walks here and there. This routine just gets your glutes and pelvis working together, so your back doesn’t have to do all the heavy lifting.
Week 2-4: Small Upgrades for Bigger Wins
For Weeks 2-4, nudge things a bit, not all at once. Go slow with your hinges and squats, really feel each move, and pause at the top for a beat. If it feels easy, lift your hips a little on the couch or a small ramp to go a bit deeper.
You can even sneak in one extra set or shorten your rest a touch. Little tweaks like this add up and make your body stronger without overdoing it.
Want a little more challenge? Try single-leg bridges or low step-downs. Tiny, steady wins beat big leaps; your body will thank you.
Build Your Base With Guided, Glute-First Reps

Start with your glutes; it makes such a difference. A few short assisted squat sessions can help you feel your glutes actually working and take some of the stress off your lower back. Pretty soon, standing, walking, and even squatting will feel way easier and more natural.
Check out The DB Method Glute Workout Machine, designed to make alignment, glute activation, and beginner-friendly form super easy at home.